After you’ve unlocked the double air dash in Atlas Fallen and returned to Arif in Castrum VII, you’re immediately dispatched again to acquire the pieces to upgrade your gauntlet’s other key ability: Raise. This time, you have to visit a location called The Shattered Keep, descend into its depths, and fight one hell of a big beastie. Before you do, though, it will behoove you to get some upgraded armor. Sure, you can buy some in Castrum VII or you can get some for free by completing a sidequest just before you head into the bowels of the fortress. So, this is how you complete the History of the Shattered Keep sidequest in Atlas Fallen and score yourself the Scout’s Gear armor.
How to Get Scout’s Gear in Atlas Fallen
On first crossing the ravine to the Shattered Keep, you should see a young man sitting on a balustrade and dangling his feet over the abyss. If you speak with him, he will suggest that you search the underground part of the ruins. If you follow his advice, you’ll miss this quest. Instead, make a beeline towards your quest marker, except rather than passing under the arch and into the darkness beyond, jump up the fallen ruins to the left until you reach the second floor.
If you keep heading left and right, you’ll soon come to a landing, where an old flagpole flies a pair of blue banners. It’s worthwhile to take a moment to unearth the Anvil just to the right of the flagpole, then head left and speak to Lector. She will ask you to hunt down five clues to the Keep in exchange for the armor. I spent way too long trying to track down the clues, so hopefully this guide helps you tick the sidequest off your list much faster.
Where Are The Clues to Complete the History of the Shattered Keep Quest?
First Clue
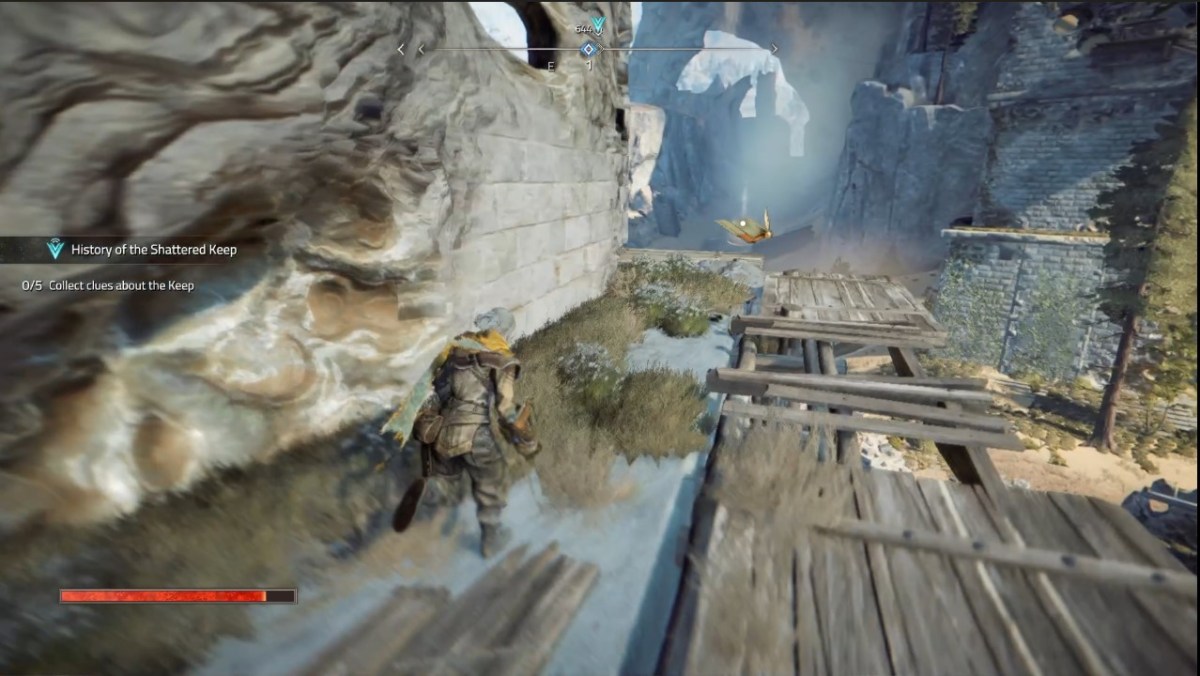
From your starting position facing Lector, leap straight across the gap directly ahead of you towards the distant platform that glows blue to let you know it can be raised. Reach it, raise it, then follow the rickety stairs all the way to the top. From there, jump off to the south-east to land on the roof of what looks like a blasted cathedral. Dispatch the flying foes that spawn, then head to the far end and jump across to the free-standing tower. Round the corner and you’ll see the clue floating just ahead of you.
Second Clue
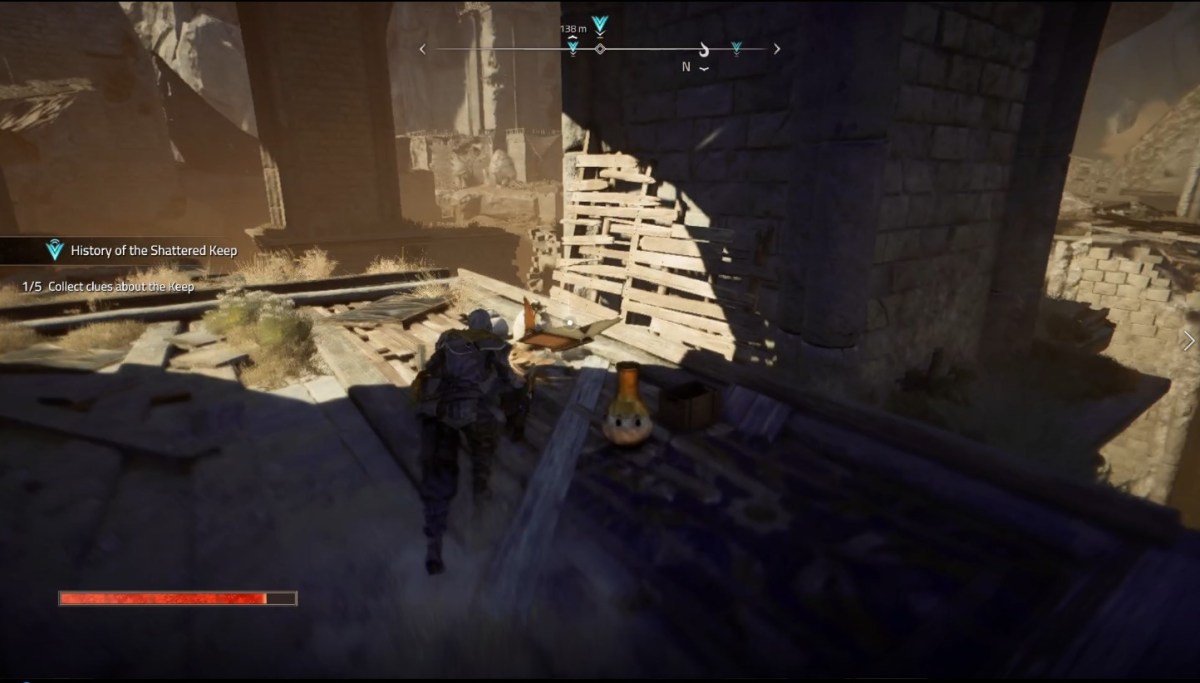
Turn around and go back the way you came, this time leaping over to the second buttress. Go the northeastern most point of the buttress, where it connects onto the rest of the roof and let yourself fall. You should drop straight down to the second floor and pretty much on top of the second clue.
Third Clue
Begin by heading back to Lector. A few steps to the north of her position is a flimsy-looking canvas structure. Jump on top of it, then turn to the southwest and jump up the awning above Lector. Clamber over the balustrade, then jump and air-dash around the corner to the left. The clue will be immediately in front of you.
Fourth Clue
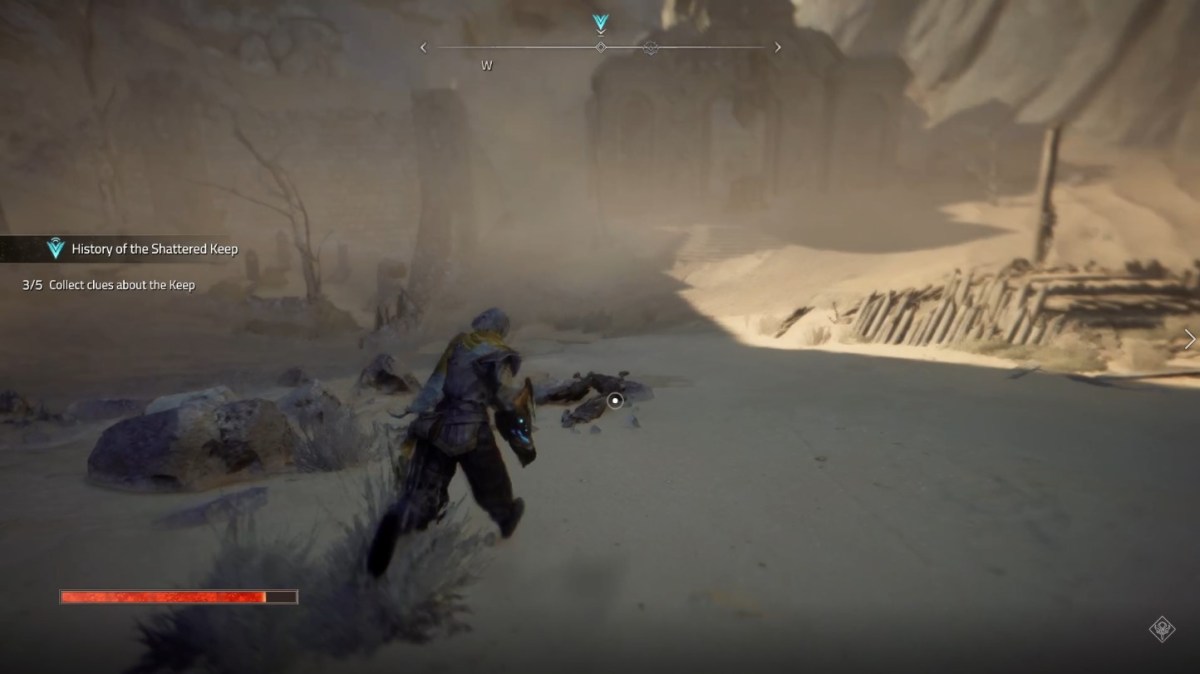
Jump over the balustrade and follow the gully to the southwest and into the graveyard. Clear out the enemies that appear. In the center of the graveyard is what appears to be a sacrificial altar. While facing it so that Thelos’ Altar is behind it, turn left and walk a short distance to where three skeletons are huddled on the ground together. The fourth clue is on one of the skeletons.
Fifth Clue
Finally, the last clue is near where you should have entered the keep. Head back to the archway, except this time, instead of clambering up the side of the building like a spider monkey, casually walk up the tumbled steps to the left. At the top is a platform with more corpses, and the clue is amongst them.
Once you’ve grabbed it, you can head back to Lector and she will give you the Scout’s Gear armor set, completing the History of the Shattered Keep sidequest in Atlas Fallen.
You can upgrade the armor at the nearby Anvil if you have enough Essence, then head into the undercroft of the keep to resume the main quest. Just make sure to speak to the scholar at the entrance because he’ll give you a powerful Essence Stone that lets you interrupt enemy attacks. Between that and the upgraded armor, I made short work of the monstrous Wraith within, and I’m sure you will too. If you’re looking for more on the game, make sure to check out our guide to fast travel, as well as KC Nwosu’s 3 Minute Review.


