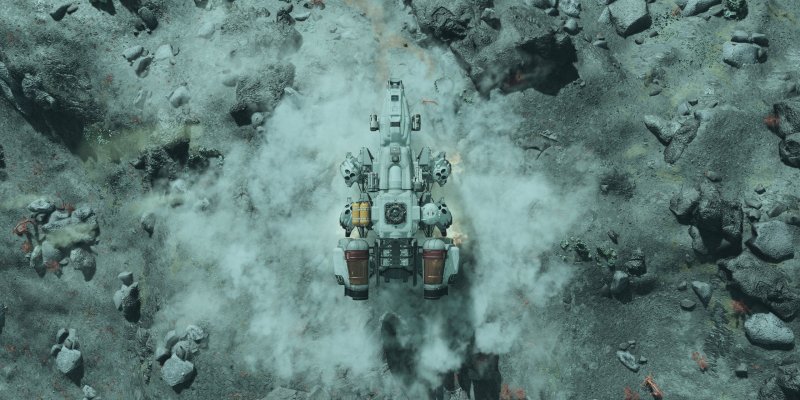
We’ve all been waiting patiently for Bethesda’s next big title Starfield. It’s a spectacular sci-fi adventure, with some very impressive visuals to go along with it. However, it has a rather small and unusual selection of graphics options for a AAA title. It can be confusing as to what you want turned on or not. So, let’s go over the graphics settings you’ll want to tweak to ensure you have the best experience playing Starfield.
Starfield Graphics Settings for Best Visuals
When you first boot up Starfield, you should tweak your graphics settings first for the best experience. At the main menu, head to settings and you’ll find all the graphics options under Display . This is where we’ll tweak the settings to achieve the best-looking version of Starfield.
Monitor & Resolution
- Borderless Fullscreen – Set to On to get the best performance and visuals. Playing in windowed mode limits performance and visual quality.
- Window Size – Ignore this, as it’s only relevant in windowed mode.
- Select Monitor – This is only relevant if you have multiple monitors. Choose the primary display here.
- Dynamic Resolution – Turn this off if you want the best quality visuals. If you’re on a lower end PC, you can leave this on for better FPS but slightly worse visuals. It’s a setting that can cause issues in some games as it flicks between partial resolutions. It seems to run fine for me so far, but keep that in mind if you use it and encounter issues.
- Render Resolution Scale – Turn this up to 100% to have it display at your native resolution for the best visuals. You can decrease this slider to render at a lower resolution if you’re struggling for frames. However, doing so can significantly impact the visual quality.

Graphics Settings
- Shadow Quality – Set to Ultra or as high as your PC can handle. The shadows are impressive in Starfield, so I’d recommend not skimping on this setting.
- Indirect Lighting – Set to Ultra or as high as your PC can handle. Lighting is important across the entire game for visuals.
- Reflections – Set to High if possible. Starfield has some awesome reflections across many surfaces.
- Particle Quality – Set to High if possible. As a sci-fi game, there are particle effects everywhere and they really add to the atmosphere.
- Volumetric Lighting – Set to High if possible for the best looking lighting.
- Crowd Density – The higher the crowd density the more impressive the cities look. This one is up to preference though. Performance can tank in cities with high crowd density when maxed out, so you can lower this setting to Medium if you prefer. Everything will still look as good and you’ll get higher frame rates in cities; there will just be a few less NPCs wandering around.

Extra Effects
- Motion Blur – I personally despise this effect and turn it off in most titles. This one is usually personal preference, but if moving the camera around hurts your eyes or makes your stomach turn, this setting is the culprit.
- GTAO Quality – I don’t mind a nice bit of ambient occlusion in my games. I think it adds to the atmosphere and have it set at Ultra. But, you can tone it down to your preference by lowering the setting if it’s too much on Ultra.
- Grass Quality – How nice do you want the grass to look? There is a lot of it across the many Starfield planets and so setting it to Ultra gives the best visuals. You can decrease this setting for slightly better performance.
- Contact Shadows – This is quite a nice effect but not necessary. Set it to Ultra if your PC can handle it. If not, you can lower or disable it for better performance.
- VSync – You can’t set your FPS cap in the settings, so to prevent tearing and other issues I’d recommend you keep this enabled.
- Upscaling – FSR2 is AMD’s version of DLSS. This allows the game to render at a lower resolution, then use AI to upscale and improve performance quite dramatically in most cases. FSR2 is not as good as DLSS, especially if you’re on a NVIDIA graphics card. Generally, you’ll get the best graphics quality with this setting turned off. However, I would recommend you test out the game with it off and then on before deciding. If you don’t notice any difference in graphical quality, then you might as well use it for the improved performance.
- Sharpening – Leave on the default setting if you’ve turned on Upscaling.
- Enable VRS – Leave this turned on.
- Film Grain Intensity – I’d suggest to lower this setting to half or turn off completely. However, this one is another one based on personal preference.
- Enable Depth of Field – Leave this one enabled.

Those are all the graphics settings covered for Starfield. Now you know what to use, what not to use, and what to adjust for better visuals vs better performance! Hopefully this guide will help you have the best looking and best running version of Starfield possible for your setup. And if you want more tips on getting off to the best possible start in the game, take a look through our other guides.
KEEP READING: Are There Invisible Walls on Planets in Starfield?
