The Legend of Zelda: Tears of the Kingdom’s Jiosin Shrine has a shade of Tetris about it. You’re not against the clock, but there’s more than a little block-meddling to be done. If you’re struggling to complete Jiosin Shrine in Tears of the Kingdom, I’m here to help.
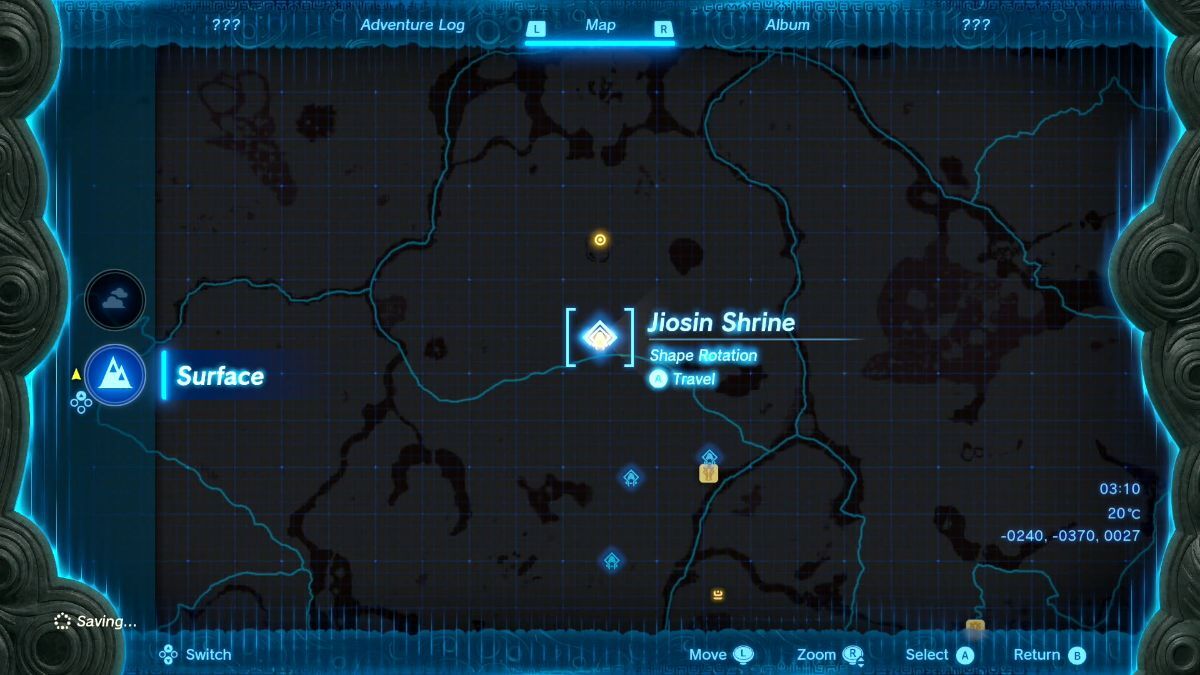
If you’ve not found Jiosin Shrine yet, take a peek at the map I’ve got for you below. It’s at coordinates at -0240, -0370, 0027 and, unlike at least one shrine that is suspended in mid-air, you can walk right up to it.
How to Use Link’s Abilities To Solve Jiosin Shrine
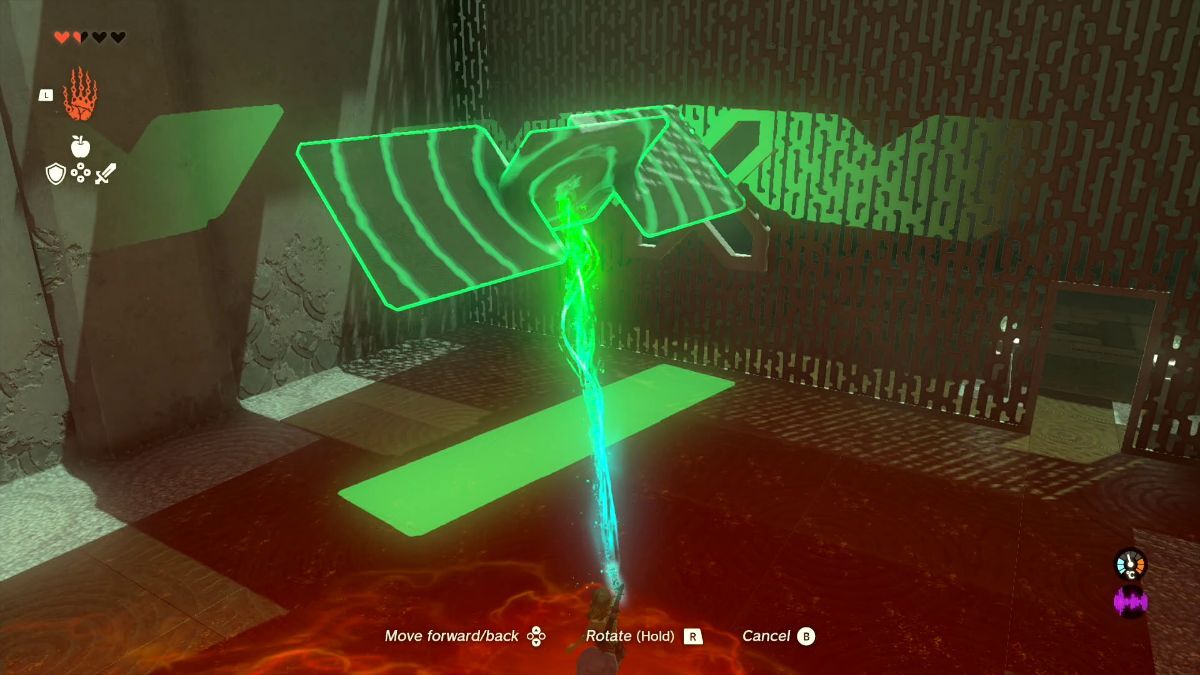
You’ll have to rotate a couple of shapes, which is fairly easy except that you can only rotate them in two directions, despite them being three dimensional objects. You’ll likely have to try rotating them a few times until you get it right.
That will get you inside. From there, go into the room to your left and use Ultrahand to rotate the large piece so it makes an X-shape when looking at it end on. Now, push it through the X-shaped hole to at least halfway.
 Go around to the other side of the wall and use Ultrahand to remove the piece, then rotate it so it bridges the gap in the main passageway. You can now cross.
Here’s Where You Need to Use Ascend
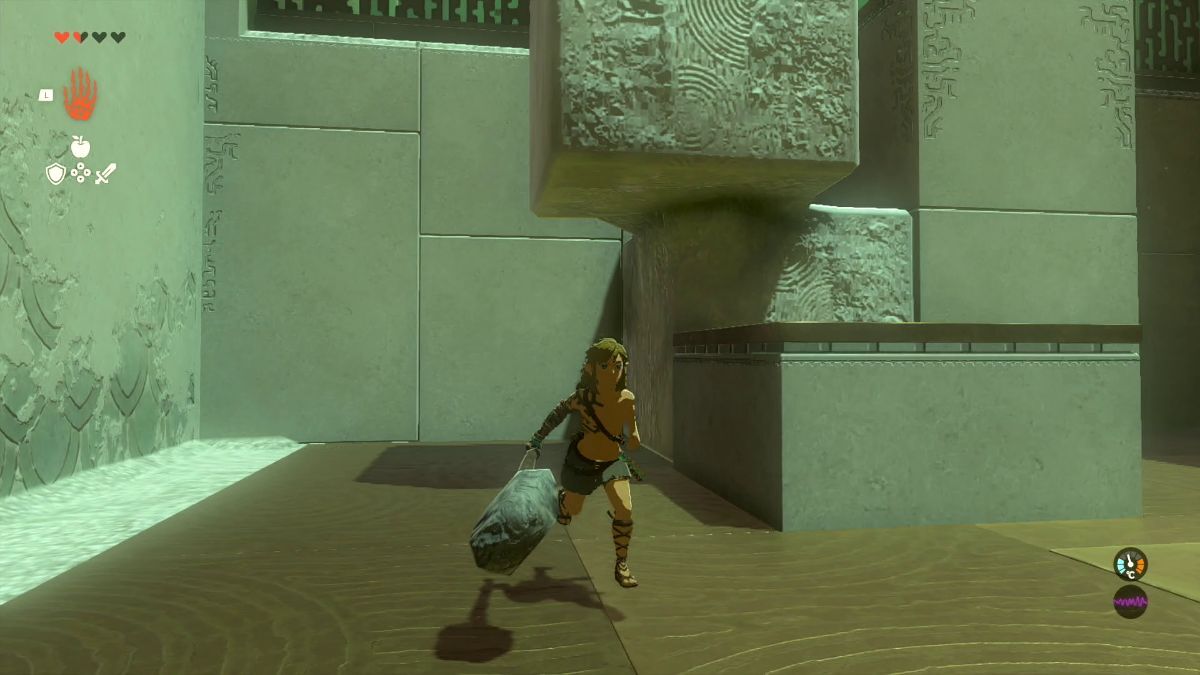
The next step is to enter the room on the right and rotate the double blocks so you can move them out of that room and into the main passage.
Once you’ve got them outside, rotate them to make a double diamond shape and again use Ultrahand to push them through the hole in the wall to the left.
Now, balance them so that the lower block is neatly nestled in the gap by the platform. Check out my screenshot below to see the exact placement.
Then, use Ascend to pass through the uppermost block. That’s your last obstacle and you can now head to the goal and claim your reward.
And that’s how to complete Jiosin Shrine in Tears of the Kingdom. If you’re having problems with other shrines or other parts of the game, take a look through our extensive set of guides.