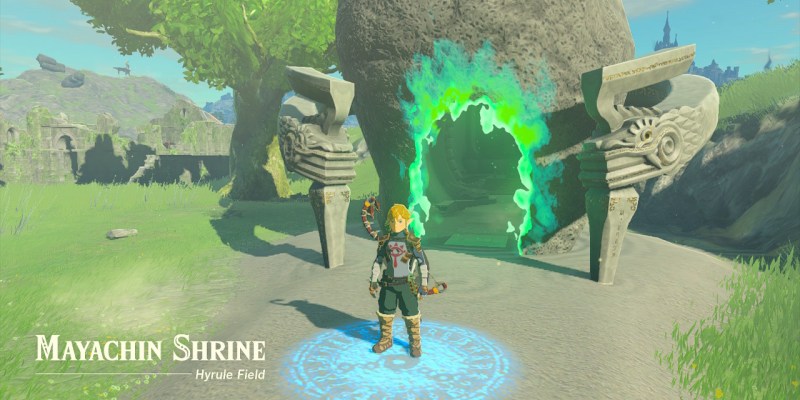
Mayachin Shrine in The Legend of Zelda: Tears of the Kingdom is one of the shorter shrines in the game, but it can be a brain-twister if you, like me, have trouble with spatial puzzles. And while completing the Shrine is pretty straightforward, unlocking the secret chest takes more ingenuity. We’ll go over both solutions in this guide, but remember that every puzzle in this game has many answers, so feel free to improvise.
Mayachin Shrine Solution in Tears of the Kingdom (TotK)
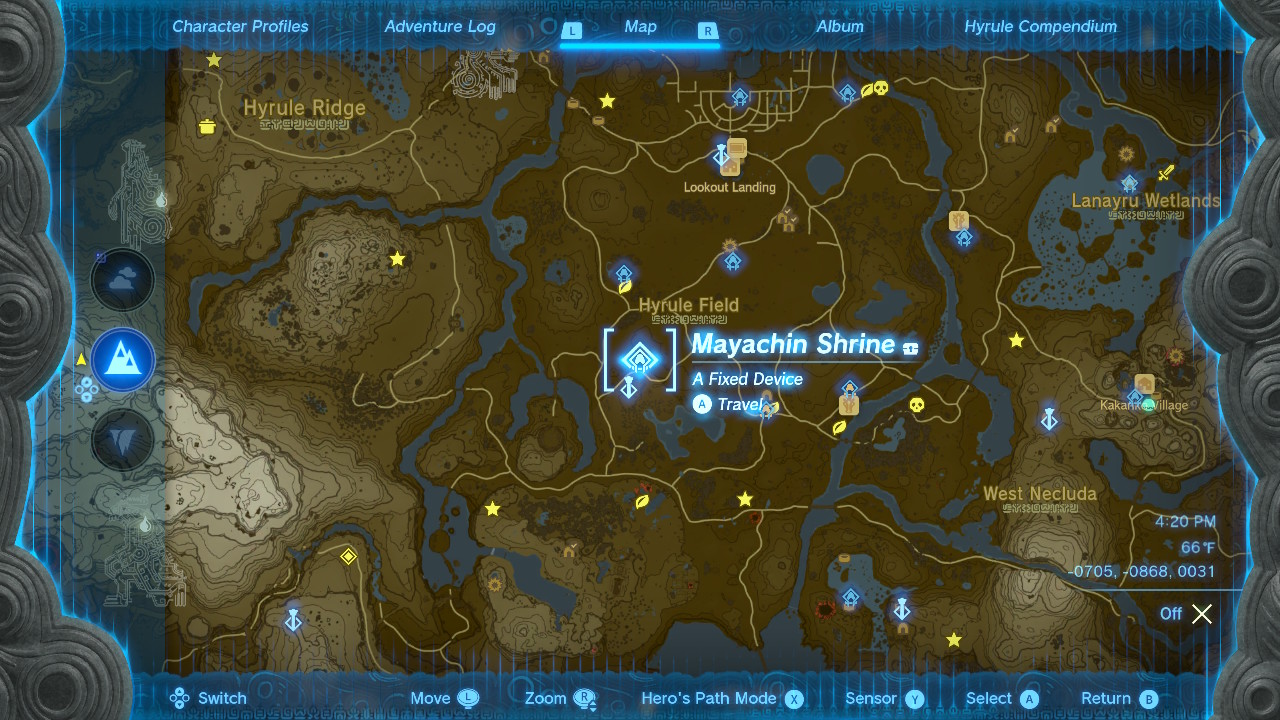
Mayachin Shrine can be found in Hyrule Field, at -0705, -0868, 0031.
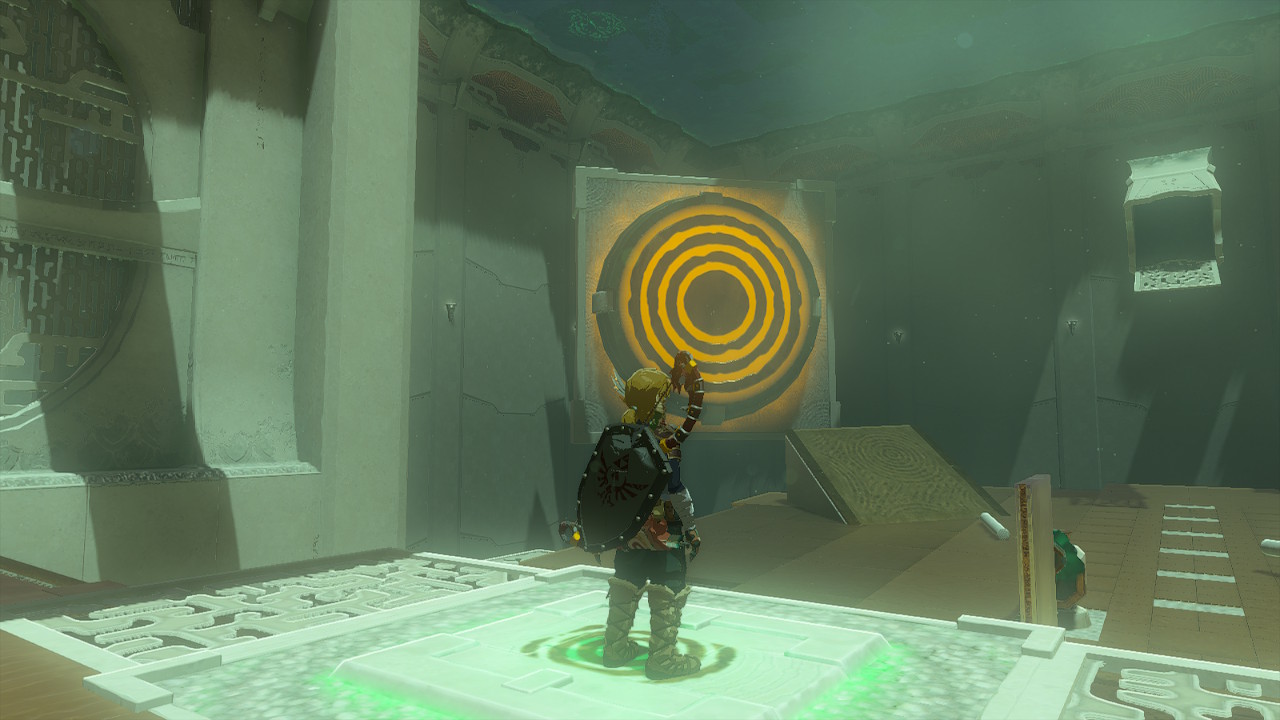
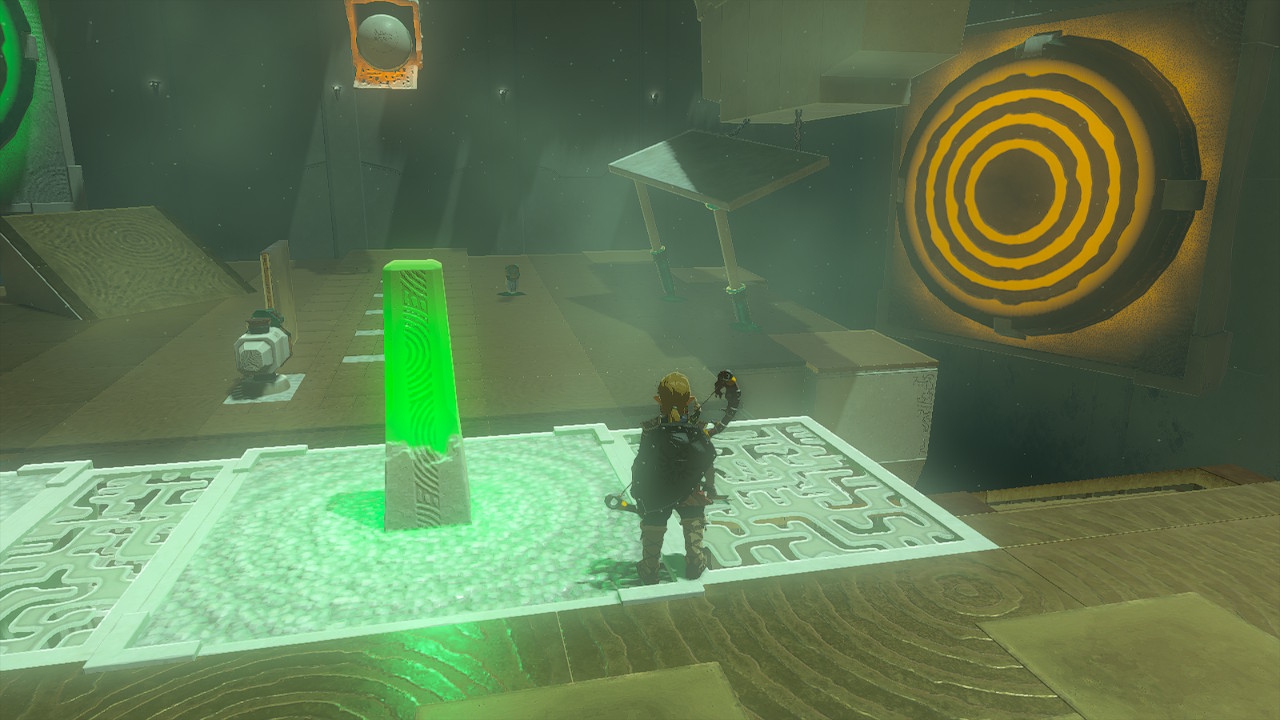
When you first enter the shrine, you’ll see a rotating platform made with a plate via a Zonai spike and a metal plate. Jump across and remove the plate/spike combination with Ultrahand. Step on the button to the right of the small, orange-glowing pillar to reveal your first target.
Your goal is to launch the ball rolling out of the tube ahead of you into that target. To do that, move the plate/spike combo to the lower area and plant the spike inside the black portion of the small device to the left of the ball’s rolling path. You’ll also want to remove the nearby spike from the floor and place it elsewhere.

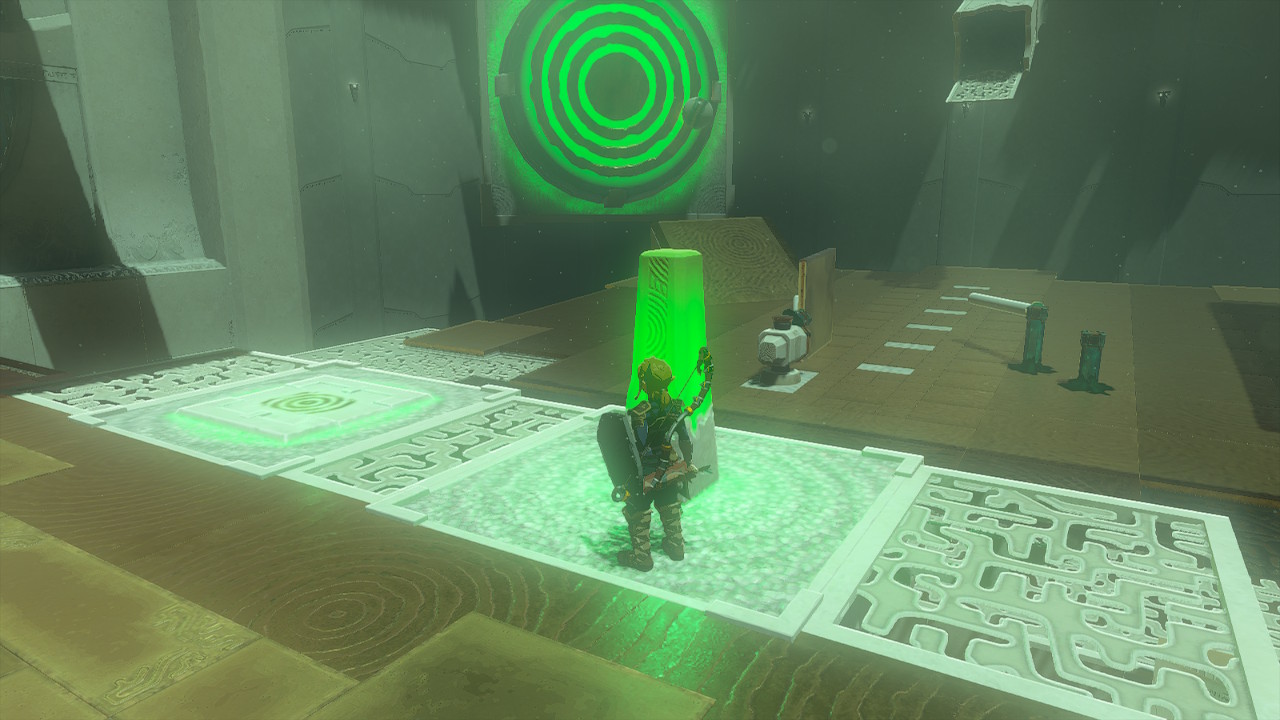
Now you can launch the ball by going back to the upper platform and switching the orange pillar on by hitting it. It will turn green, and the device will quickly spin 180 degrees, and if you hit the ball with it, you’ll send it flying. To ensure it launches up the ramp and into your first target, use Ultrahand to connect a spike with one of the white posts on the lower platform. Then line up the post to act like a rail toward the ramp.
Once you’ve activated the first target, the path out of the shrine and to the Light of Blessing reward will open, but the plate for the second target on the right side of the area will also turn around.
This second target, which opens the way to the chest, is where things get tricky. You need to find some way to get around the stone barricade blocking the way. Here’s where your creativity comes in handy and why the solution that worked for me might be entirely different for you.
For my solution, I attached the spikes to the ends of the white posts and then to the side of the barricade. Then, I used the posts like braces to hold up the barricade. All that was left after that was correctly hitting the ball, so it flew into the second target. The timing was a little funky, but I landed the hit after a couple of tries.
You could also use a post and spikes to make the barricade a guide rail by turning it somewhat to the side, then using the other post to guide the ball as before.
Your reward for opening the chest isn’t the most valuable thing in the world: you get an Energizing Elixir that refills about half of a single stamina wheel, so if you already have plenty of stamina-refilling items, you might want to save space.
And that’s how you solve Mayachin Shrine in The Legend of Zelda: Tears of the Kingdom. You can check out more of our Tears of the Kingdom guides here.