Starfield has an incredible amount to take in, backed up by some excellent details and visuals. From buzzing cities through to fantastical alien planets, you’re never short on sights to see in this monster title from Bethesda Game Studios. If you’re wanting to capture some of the epic moments you come across to remember or share with your friends, Starfield has an excellent photo mode built in! Let’s take a look at how to use it.
How to Enter Photo Mode and Hide the UI in Starfield
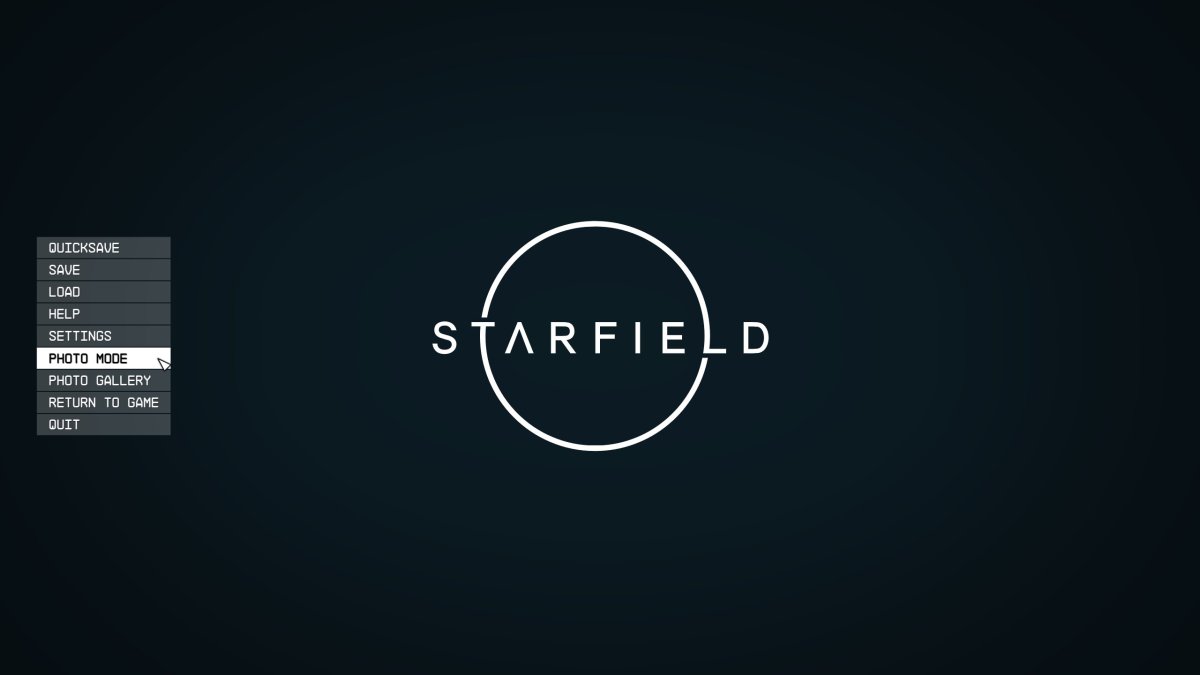
Whenever you come across a marvelous scene you’d like to immortalize in screenshot form, you’ll want to use Photo Mode. To do this, first open your main menu. Use the Escape key on a keyboard or press the options button twice on an Xbox controller to get to this menu. From here you’ll find the Photo Mode option halfway down the menu.

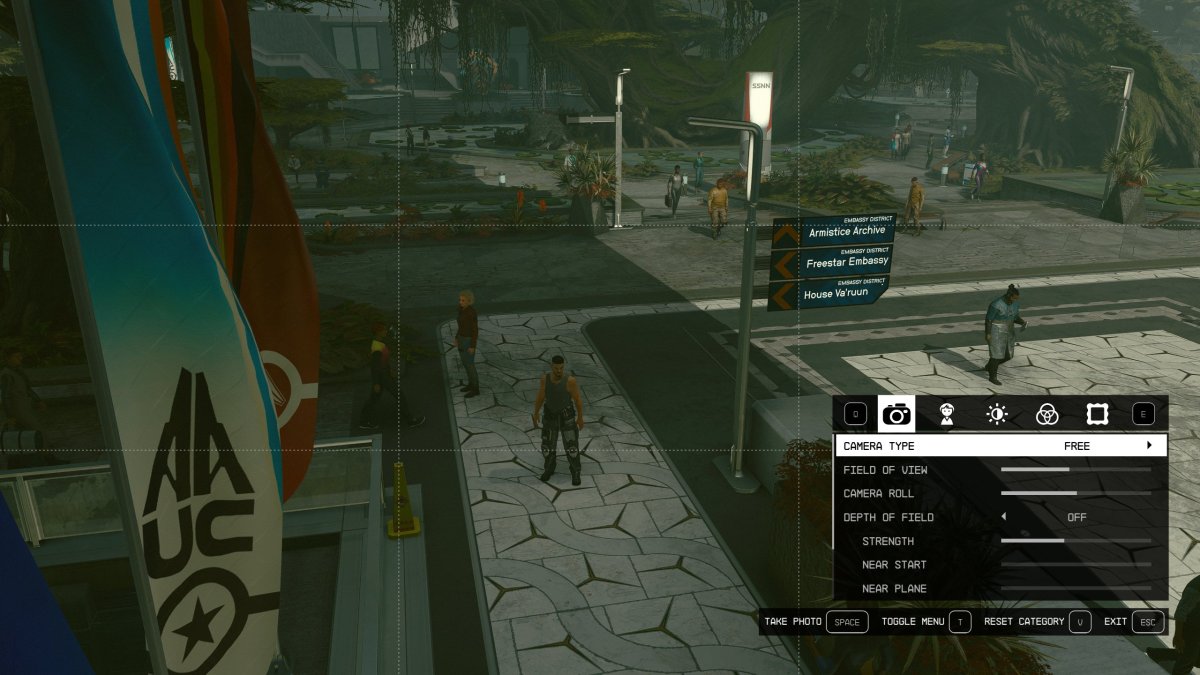
As is usual, once you enter photo mode, the world around you will freeze, and you’ll be able to move the camera around to get the angle you want for your photos. Photo Mode has quite the host of options for you to play around with. You can change the camera type, field of view, adjust your character, and even add filters. At the bottom of the Photo Mode menu you’ll find the option to hide the menu. This is what you can use to hide the UI for a nice clear view.

That’s how you use Photo Mode in Starfield. It has quite a comprehensive menu of options that allow you to get some really awesome snaps on your adventure! And if you’re looking for more help with the many mechanics of the game, take a look through our full archives.
